
 Auntie's Beads recently contacted me to try some of their products in exchange for telling all of you wonderful people about them. Lately I've been yearning to try some more resin projects, so I chose several of their glue-in-and-glaze charms on this page. They are plated instead of solid precious metal, which means they are a bargain and yet have a nice weight to them.
 One of the other resin blanks I used during this round of resin is one I made from scraps of PMC. It has French script on the back and I traced around it on rice paper to get the right size of insert. Another option is to use a paper punch if you're using calibrated bezel cups. Or, Auntie's Beads offers a template card for sale so you don't have to guess while cutting a paper for, say, the oval glue-in-and-glaze charms.
I was more interested in getting the project finished than I was in the aesthetics of each piece, but I did try including some seed beads and a sprinkling of fine glitter. On our trip to Savannah I found an awesome art supply store and picked up some Japanese decorative paper, so I inculded some of that as well.
 The charms from Auntie's Beads are pretty shallow, so there's not a lot of room in the well to hold 3-dimensional found objects, but it also means it won't use up a lot of resin volume like the die-cut bezel cup pictured here. If you're just using decorative paper or photographs, they would work great. Another benefit of the glue-in-and-glaze charms is that they come as links, ready to make into jewelry when the resin dries. For these sterling bezel cups I have to solder on rings, and that's just a pain.
I use Colores doming resin from Rio Grande, which is a two-part non-yellowing epoxy with a long open time so you can mess around with your design before it cures. Resin is all the rage in Jewelry World right now and next I think I want to try UV resin. No careful mixing, no waiting all night for it to cure. It costs more, but considering I've used about half an ounce of the huge bottles I have, that shouldn't be a big deal.
 I liked how the charms from Auntie's Beads turned out. Like I said, they are inexpensive and have a nice weight to them, and they have rings attached so these are all ready to link into a design.
 Steampunk is another trend right now in Jewelry World, and in some of these pieces I included some watch gears I found on eBay years ago.
 I also have some decorative brads from the scrapbook aisle that are in the shape of keyholes, but they are hollow and lightweight so I thought they would be good candidates for resin.
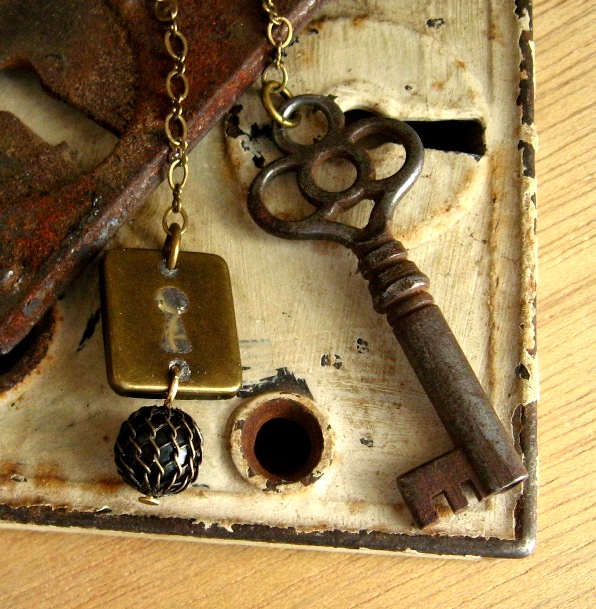 I snipped off the brad parts and, since they have holes already, stuck them to a piece of packing tape so the resin wouldn't leak out. And because their holes are now closed I drilled through the resin with my Dremel in order to link these components to other things. I could have placed brass tubing for the holes and "resin'ed" around it, but it seemed like a hassle to keep things from moving around with wet epoxy in the equation. My only complaint about the tape-back method is that it gave sort of a matte finish on the back instead of the shiny clear on the top side.
2 comments:
Nice tips! "Liked" you in Facebook. We'll be linking! ",)
Jane
http://diylessons.org/
http://www.handmade-jewelry-club.com/
Hi there!
We have featured your tutorial! Check it out here: http://www.handmade-jewelry-club.com/2011/11/resin-jewelry-making.html
Cheers!
Post a Comment